iOS device preparation
Prepare is not available for iPhones: make the settings below by hand. They apply to iOS 17, 18, 26 and 27. Where a menu differs between versions, the path for each version is given.
Settings > Apps
From iOS 18 on, the settings of built-in apps such as Messages and Phone are under Settings > Apps. On iOS 17 they are directly in Settings.
Checklist
- Connect the iPhone to the Mac and tap Trust (Before you start).
- Turn on Developer Mode and check it.
- Wi-Fi on, Airplane Mode off.
- Portrait Orientation Lock on.
- Auto-Lock Never, Raise to Wake on, Low Power Mode off.
- Passcode off.
- Ringer volume at the minimum, Change with Buttons off.
- 24-Hour Time on and the time set automatically.
- Messages: Default Messaging App is Messages, MMS Messaging and Group Messaging on, RCS Messaging and iMessage off; on iOS 26 and later, Screen Unknown Senders off.
- Erase all call forwarding with
##002#. - iOS 26 and later: Screen Unknown Callers set to Never.
- Complete the Mobile ID on the Mobile ID's page: name, MSISDN, National Format, IMSI and IMEI (see Edit a Mobile ID).
Printable checklists for all brands (PDF)
Before you start
- Connect the iPhone to the Mac Test Node with a cable.
- Unlock the iPhone.
- In the Trust This Computer? alert, tap Trust (and enter the passcode, if one is still set).
- Keep the phone connected while you complete the steps below.
If you tapped Don't Trust by mistake, go to Settings > General > Transfer or Reset iPhone > Reset > Reset Location & Privacy, then reconnect the cable to see the alert again.
1. Enable Developer Mode
Developer Mode appears in Settings only after the iPhone has been paired with a Mac: connected, unlocked and trusted as described above. If it is still missing, reconnect the cable and accept the trust alert again.
- Open Settings.
- Tap Privacy & Security.
- Scroll down to the Security section and tap Developer Mode.
- Turn on the Developer Mode switch.
- An alert warns that Developer Mode reduces the security of the device. Tap Restart.
- After the restart, unlock the iPhone (swipe up). In the alert that asks you to confirm Developer Mode, tap Enable (on older iOS versions the button is Turn On), and enter the passcode if one is set.
Once Developer Mode is on, the Test Node can install and run its automation on the iPhone. You do not need to enable it again unless you turn it off or restore the device.
2. Check that Developer Mode is enabled
- Open Settings.
- Tap Privacy & Security.
- Scroll down to the Security section and check that Developer Mode is On.
The Developer Mode page also lists the Mac the iPhone is paired with under Paired Devices.
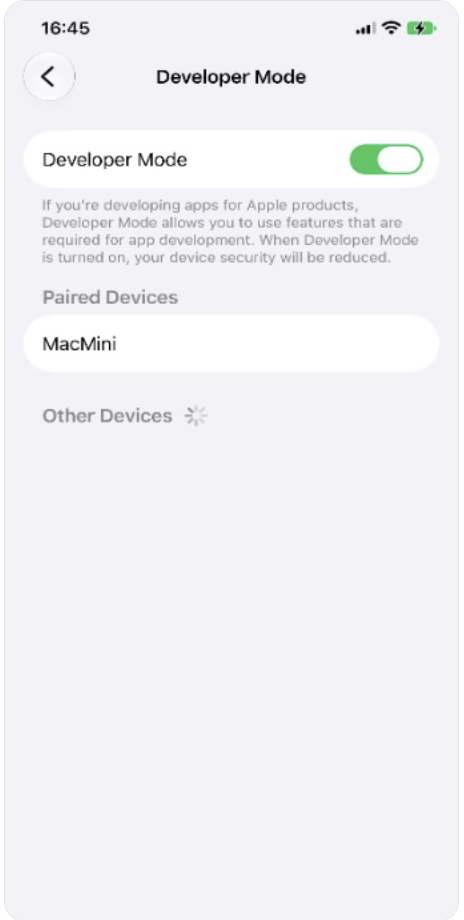
If Developer Mode is off or not shown, complete Enable Developer Mode.
3. Wi-Fi – ON
Keep Wi-Fi turned on: the automation on the iPhone needs a data connection. Test steps that check mobile data turn Wi-Fi off themselves, and TEO turns it back on when the test ends.
- Open Settings > Wi-Fi.
- Turn on Wi-Fi and connect to a network.
Use Settings rather than Control Center: the Wi-Fi button in Control Center only disconnects from the current network and does not turn Wi-Fi off or on.
4. Airplane Mode – OFF
Open Settings and turn off Airplane Mode (or tap the Airplane Mode button in Control Center).
5. Screen Rotation – locked
Lock the screen in portrait orientation:
- Open Control Center:
- on an iPhone with Face ID, swipe down from the top-right corner of the screen;
- on an iPhone with a Home button, swipe up from the bottom edge of the screen.
- Tap the Portrait Orientation Lock button (called Lock Rotation in the iOS 18 and later guides). It is highlighted in red when the orientation is locked.
- Close Control Center.
If the button is not in Control Center, tap + at the top left of Control Center, then Add a Control, and add it.
6. Auto-Lock – Never, Raise to Wake – On
- Go to Settings > Display & Brightness > Auto-Lock.
- Select Never.
- Back on Display & Brightness, turn on Raise to Wake.
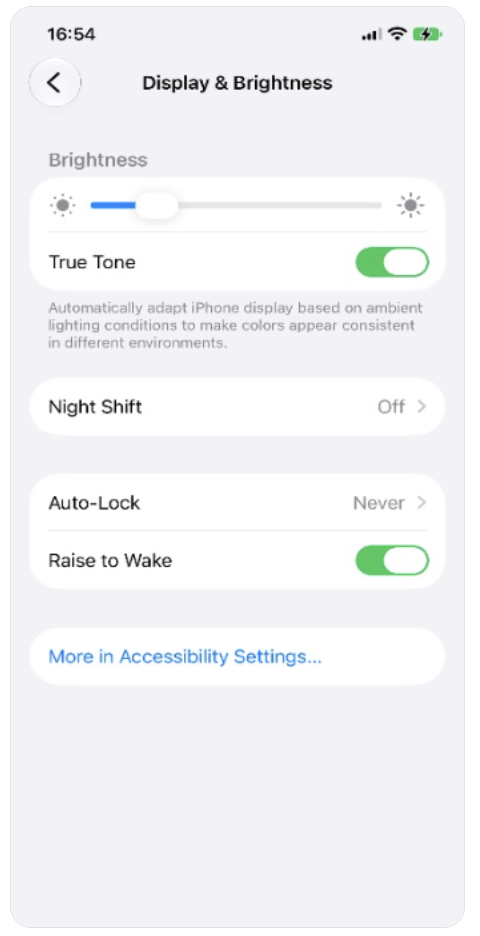
Keep Low Power Mode off (Settings > Battery): while it is on, Auto-Lock is limited to 30 seconds.
7. Ringer volume – minimum
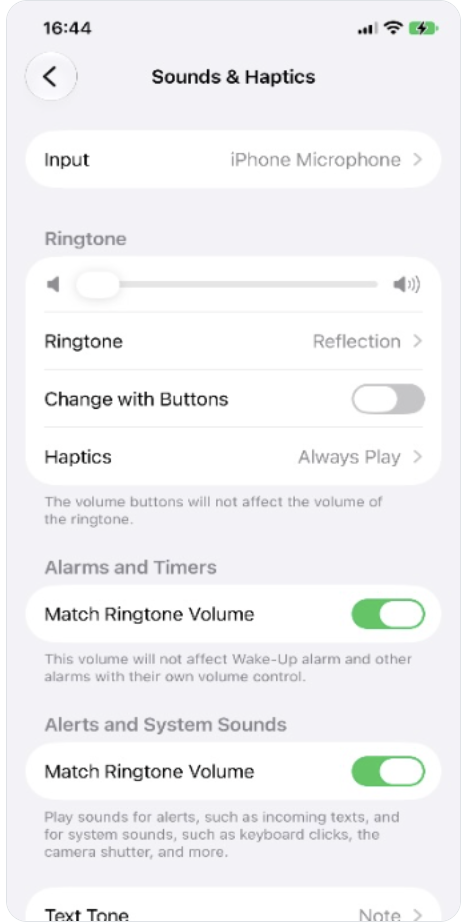
- Open Settings > Sounds & Haptics.
- Drag the ringer volume slider all the way to the left. On iOS 17, 18 and 26 the slider is under Ringtone and Alerts; on iOS 27 it is under Ringtone.
- Turn off Change with Buttons, so the volume buttons cannot change the ringer volume.
- On iOS 27, leave Match Ringtone Volume on under Alarms and Timers and Alerts and System Sounds (it is on by default), so these sounds follow the ringer volume.
8. Date & Time – 24-hour, set automatically
- Go to Settings > General > Date & Time.
- Turn on 24-Hour Time.
- Turn on Set Automatically. On iOS 27 there are two switches: turn on Set Time Zone Automatically and Set Time Automatically.
9. Messages – Required Settings for SMS/MMS Test Compatibility
Tests send and receive SMS and MMS over the cellular network, so messages must not go through iMessage or RCS.
Go to Settings > Apps > Messages (iOS 17: Settings > Messages) and set:
- Default Messaging App – Messages (where the item is shown)
- iMessage – OFF
- MMS Messaging – ON
- Group Messaging – ON
- RCS Messaging – OFF (iOS 18 and later). Tap RCS Messaging and turn off RCS Messaging; End-to-End Encryption (Beta) and RCS Business Messages stay off. The item is shown only when the carrier supports RCS.
If MMS Messaging or Group Messaging is not shown, the carrier does not support it. Retry as Text Message (older versions: Send as Text Message, iOS 17: Send as SMS) only matters while iMessage or RCS is on, so its setting makes no difference once both are off.
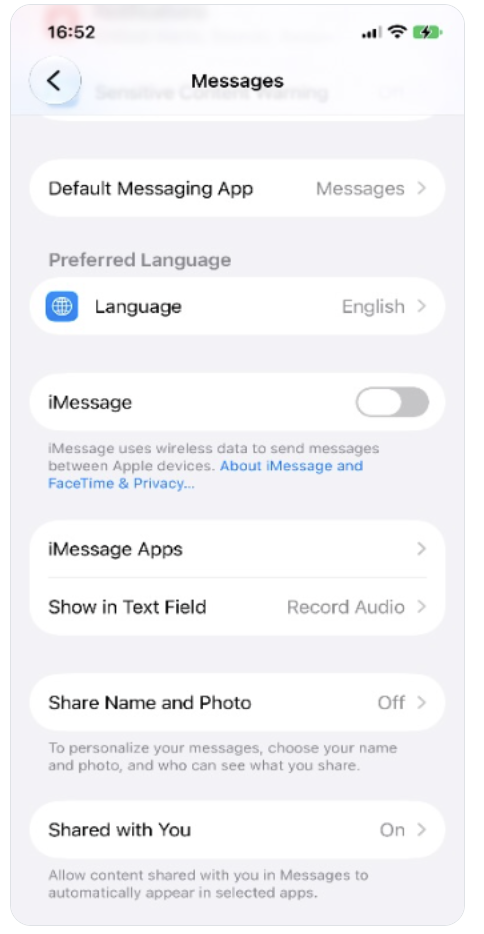
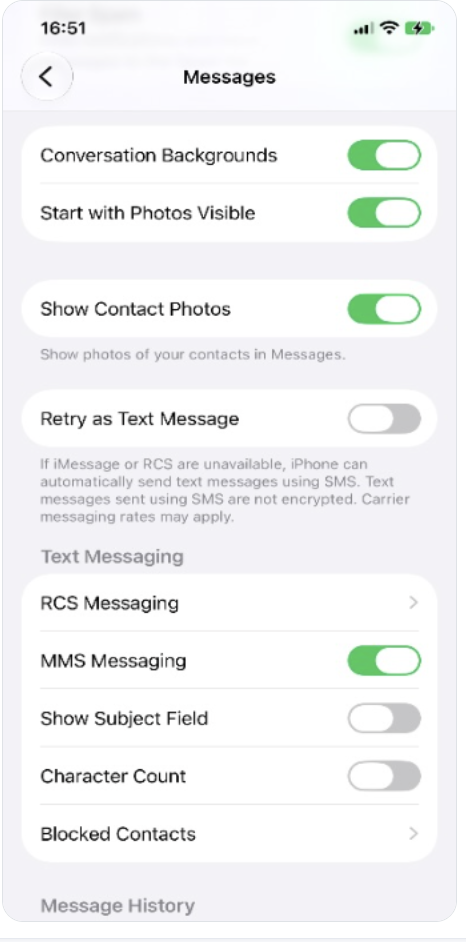
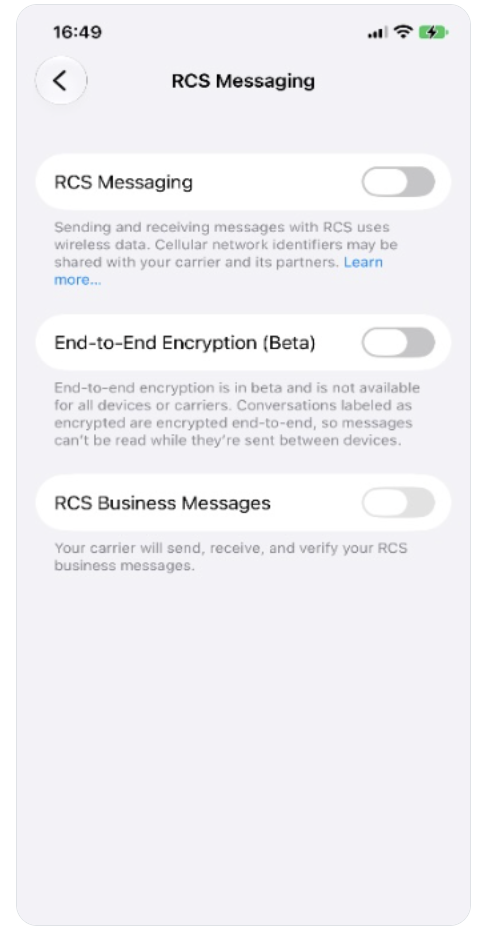
On iOS 26 and later, also make sure that texts from unknown numbers are not filtered away: in the Messages app, tap the filter button at the top right of the conversation list, tap Manage Filtering and turn off Screen Unknown Senders.
10. Erase all call forwarding
- Open the Phone app, tap Keypad, dial
##002#and tap the call button. This erases all types of call forwarding if the carrier supports the code. It also removes forwarding to voicemail when busy or unanswered. -
Check that Call Forwarding is off in Settings > Apps > Phone > Call Forwarding (iOS 17: Settings > Phone > Call Forwarding). This switch covers unconditional forwarding only.
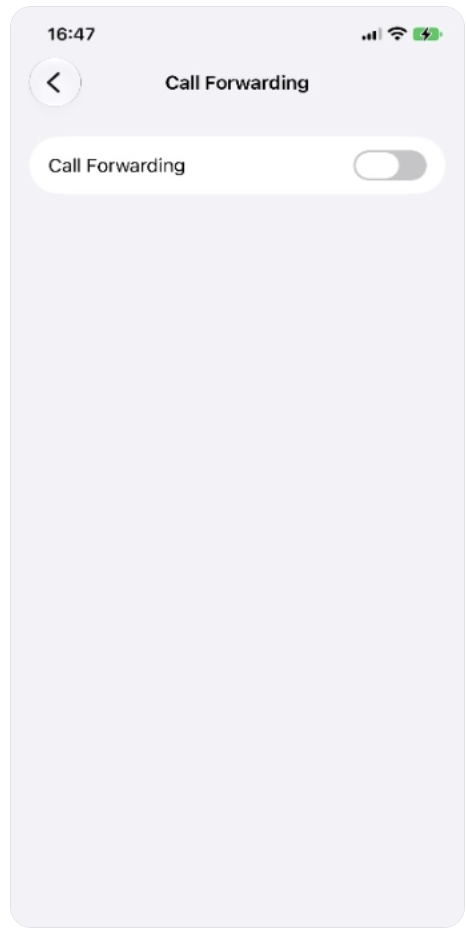
Note: If you control the phone by hand for testing, make sure that all call forwarding is reverted to default when you finish.
11. Call screening – off (iOS 26 and later)
On iOS 26 and later, calls from numbers that are not in Contacts can be answered by Call Screening or silenced before the iPhone rings, which makes incoming-call tests fail.
- Go to Settings > Apps > Phone.
- Under Screen Unknown Callers, select Never.
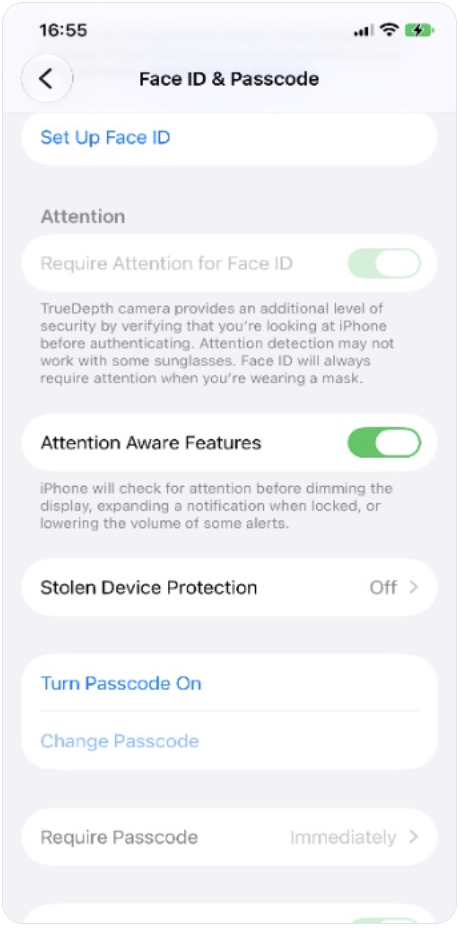
12. Passcode – Off
The iPhone must not have a passcode, so that it never asks to be unlocked during a test (the same as Screen lock: None on Android).
- Go to Settings > Face ID & Passcode (on iPhones with Touch ID: Touch ID & Passcode; without either: Passcode).
- Enter the current passcode, if asked.
- Tap Turn Passcode Off and confirm.
When the passcode is off, the page shows Turn Passcode On.