Test suite actions
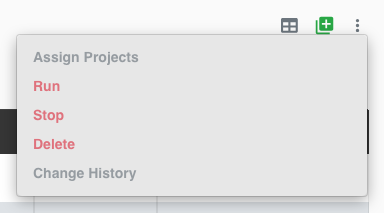
Select one or more test suites, then open the ⋮ menu at the top right of the list. It offers Assign Projects, Run, Stop, Delete and Change History.
Assign Projects 
The purpose of "Assign Projects" is to include the selected test suites in projects.
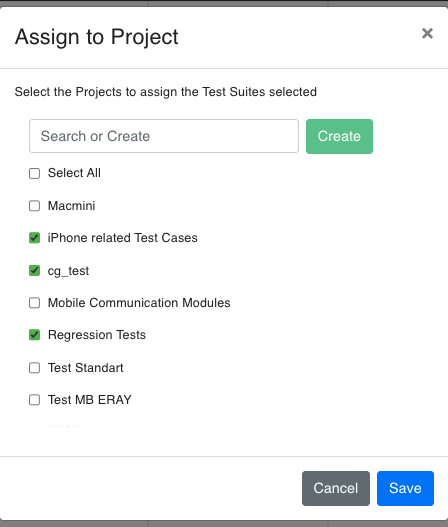
The Assign to Project window lists every project with a checkbox:
- To assign the selected item to a project, tick the project and click the blue button.
- To remove it from a project, untick the project and click Save.
- To create a new project, type its name in Search or Create and click the green button.
- Select All ticks every project in the list.
You can assign several selected items at once, but only when they are currently in the same projects; otherwise the action is disabled. Projects are renamed and deleted from the Projects filter in the top bar.
Run
To start test suites now, outside their schedule:
- Select Test Suites: Choose one or more test suites. Run is disabled for a suite without test cases or one that is already running.
- Open the Action Dropdown: Click on the ⋮ menu.
- Select "Run": Confirm with Run Suite in the Run Suite Manually dialog.
"Execution started" confirms the start. When a device the suite needs is busy, or the environment is already running as many suites as it allows, a message says so and the suite does not start. The Run Now icon on a suite's row does the same for one suite.

Stop
To stop running test suites:
- Select Test Suites: Choose the running test suites. Stop is enabled only when every selected suite is running.
- Open the Action Dropdown: Click on the ⋮ menu.
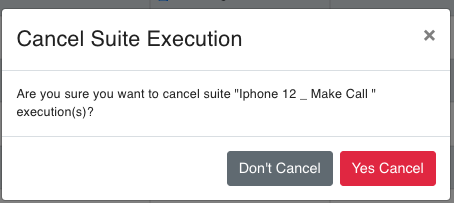
- Select "Stop" ("Cancel Now") and confirm with Yes Cancel in the Cancel Suite Execution dialog (Don't Cancel closes it).
The current test case finishes; the following test cases are marked CANCELED.
Delete
The Delete Test Suite feature allows you to remove a test suite from your system. This is useful for managing and cleaning up your test suite repository.
How to Use the Delete Feature
To delete a test suite, follow these steps:
- Select the Test Suite to Delete: Choose the test suite that you want to delete from your list.
- Open the Action Dropdown: Click on the ⋮ menu.
- Select "Delete": Choose the "Delete" option from the dropdown.
A suite that is running cannot be deleted; stop it first.

Change History 
The Change History feature allows you to view the modifications made to a test suite. Select exactly one test suite and choose Change History in the ⋮ menu. The change history provides details on what changes were made, who made them, and when they were made.
Change History Details
When there are changes recorded for the selected test suite, the
- What was Changed: The specific details of the changes, such as the name, test cases, projects, etc.
- Who Made the Changes: The email address of the person who made the changes.
- When the Changes Were Made: The date and time when the changes were made.
Example
In the example below, you can see the changes made to the test suite Samsung_All_Functions: its projects were changed, and a test case ID was changed from 1115 to 1114.
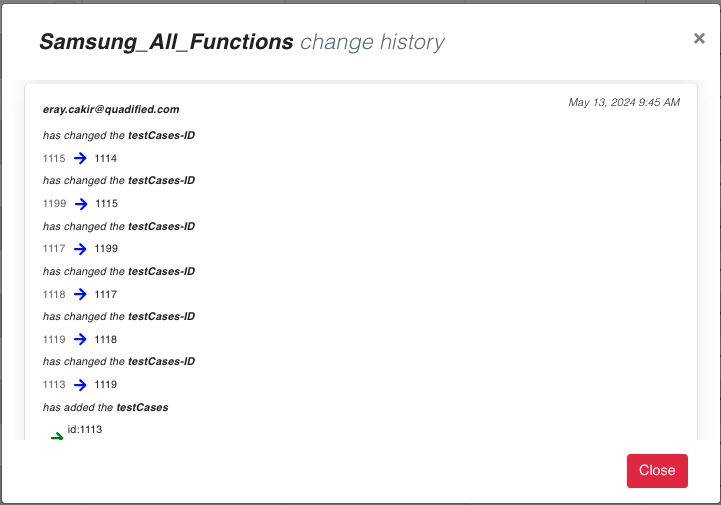
Each change is timestamped and attributed to the user who made the modification.
No Changes Found
If there are no changes recorded for the selected test suite, the window reads "There are no changes on this entity":
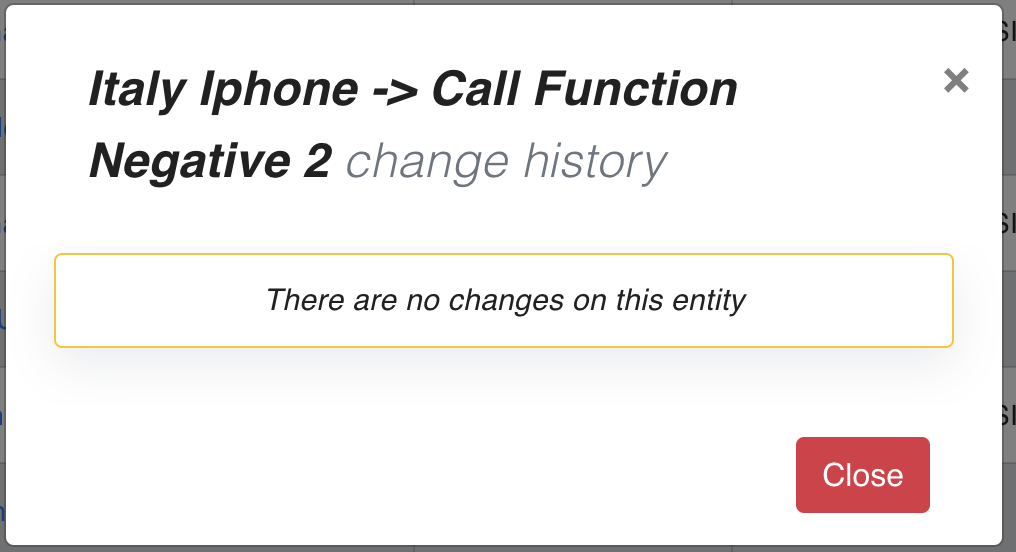
This ensures that you are aware that no modifications have been made to the test suite since its creation or last recorded change.