Create Test Suite
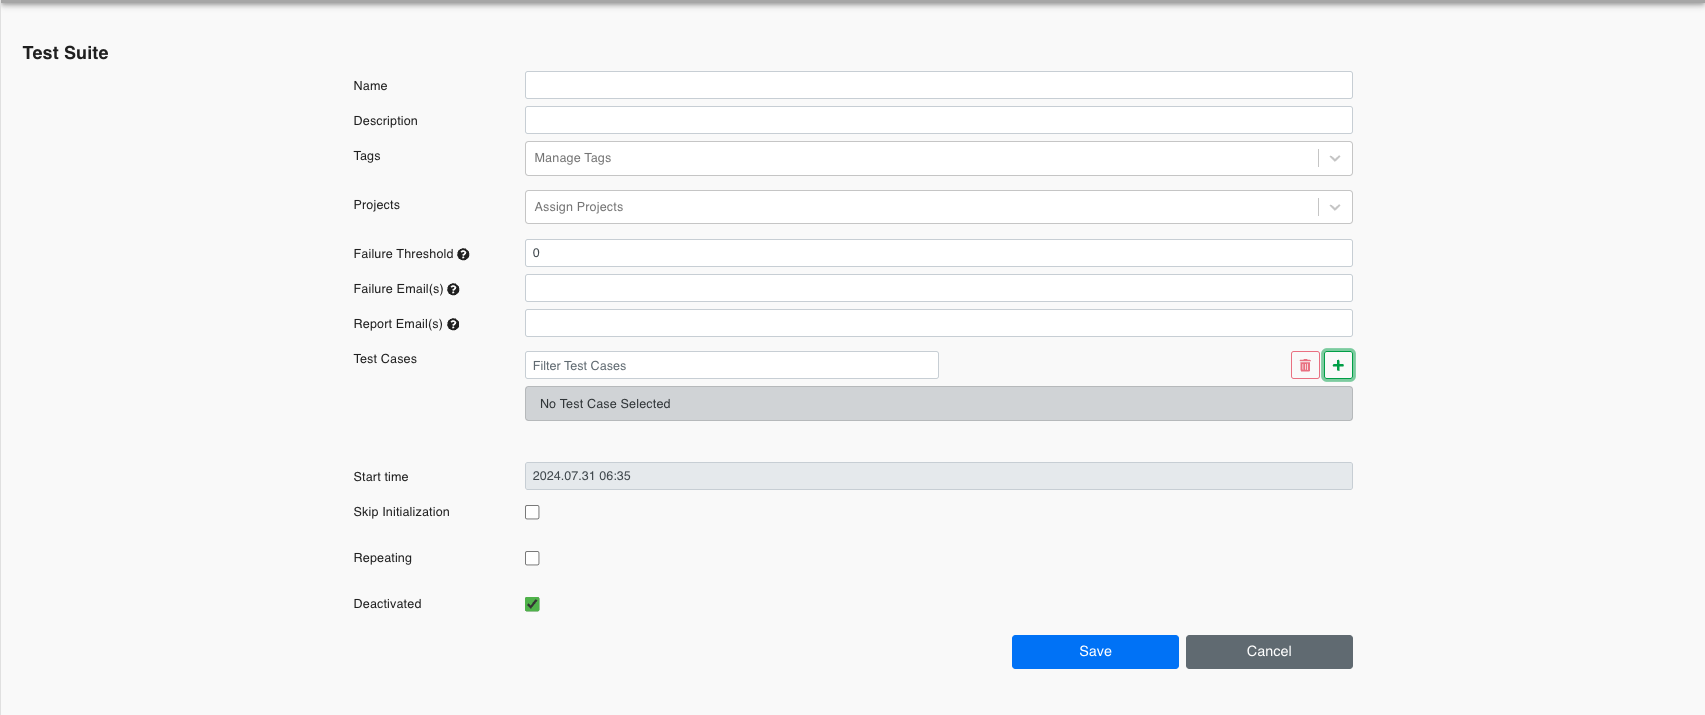
From the Test Suites page, clicking the button will open a new page. On this page, you will see the following parameters:
Parameters
| Name | Description |
|---|---|
| Name | The name of the Test Suite. |
| Description | A brief description of the Test Suite. |
| Tags | Tags to categorize the Test Suite. |
| Projects | Projects to assign to the Test Suite. |
| Failure Threshold | The threshold for the number of allowed failures before marking the Test Suite as failed. |
| Failure Email(s) | Email addresses to notify in case of failure. |
| Report Email(s) | Email addresses to send the report to. |
| Test Cases | The Test Cases assigned to this Test Suite. You can filter and select Test Cases using the Filter Test Cases input box. |
| Start time | The scheduled start time for the Test Suite execution. |
| Skip Initialization | A checkbox to skip the initialization process during execution. |
| Repeating | A checkbox to indicate if the Test Suite should be repeated. |
| Deactivated | A checkbox to deactivate the Test Suite. |
After filling out the form, you can save the Test Suite by clicking the Save button or cancel the operation by clicking the Cancel button.
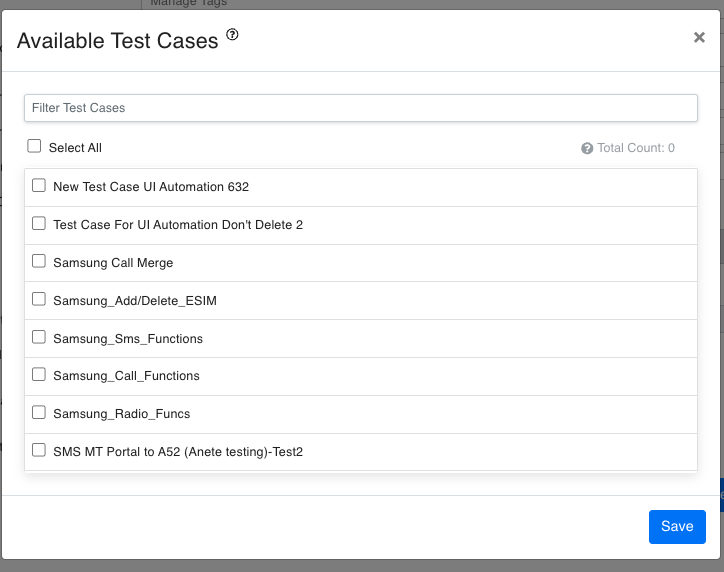
Assigning Test Case
To assign a Test Case, click the button to open the Available List. From this list, select the checkbox next to the Test Case you want to add. If you want to add more than one instance of a Test Case, you can increase the number accordingly.