Creating and Managing Temporary Access Tokens
The purpose of this guide is to explain how to create and manage temporary access tokens. This functionality allows you to control access to specific features or devices for a limited period.
Creating a Temporary Access Token
Step 1: Open the Create Temporary Access Token Modal
To create a new temporary access token, open the modal dialog by clicking the appropriate button. You will see the following screen:
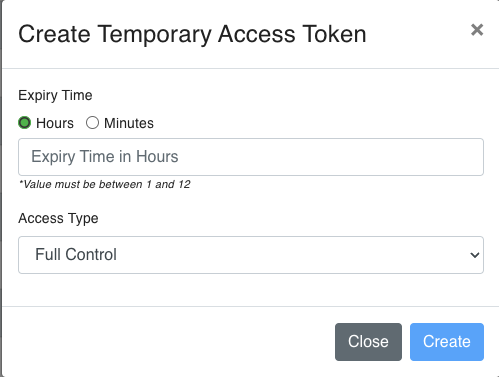
Step 2: Set the Expiry Time and Access Type
In the modal, you can set the expiry time and access type for the token. You can choose between hours and minutes for the expiry time:
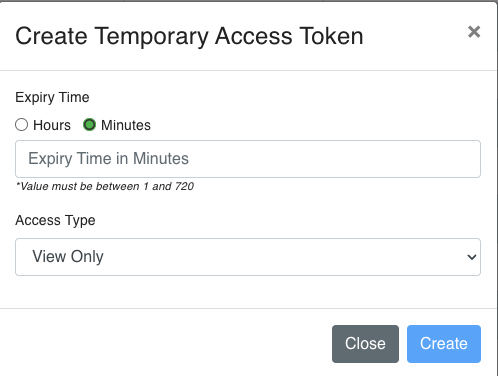
- Expiry Time: Choose either hours or minutes and enter the value.
- Access Type: Select the type of access (e.g., Full Control or View Only).
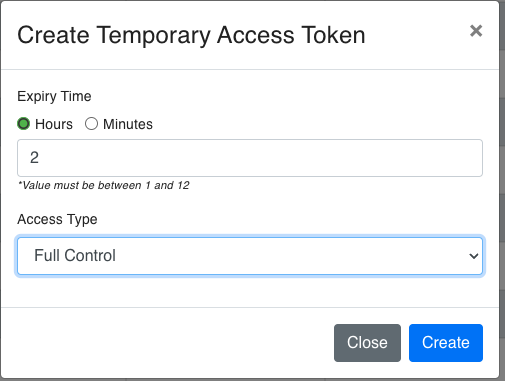
Step 3: Enter Example Values and Create the Token
After setting the parameters, enter the example values and click the "Create" button:
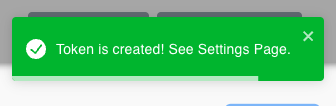
Step 4: Confirmation Pop-up
Once the token is created, a confirmation pop-up will appear:
Managing Temporary Access Tokens
Step 5: View the Settings Page
The created tokens will be listed on the settings page under "Temporary Access Tokens":
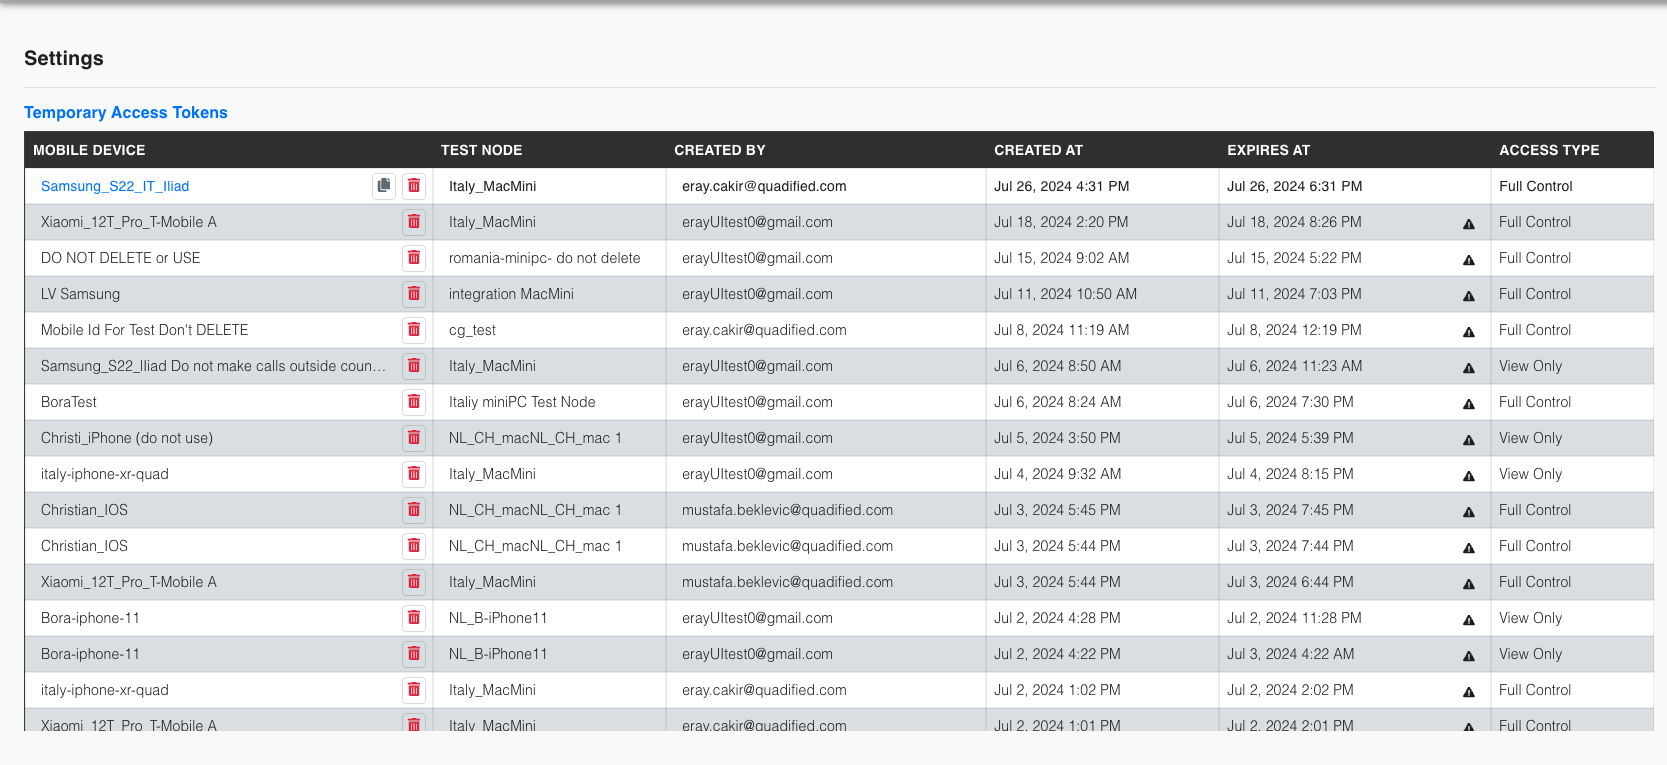
On this page, you can view all the temporary access tokens, their associated devices, test nodes, creators, creation and expiration dates, and access types.
Summary
This guide has covered how to create and manage temporary access tokens. The steps included setting the expiry time and access type, entering values, creating the token, and viewing the tokens on the settings page. This functionality is crucial for controlling and monitoring access within the system.